It’s hard to believe we’re already in month THREE of our house renovations! In case you need a refresher, here’s my update from month one and from month two. This month has been all about painting (lots & lots of painting), demolishing the kitchen, and dealing with a burst pipe. Make sure you’re following me on Instagram & following our progress – see #FixingUp1902 to see all of our progress so far!
Things got exciting this month when we were able to start putting paint on the walls & trim! I shared my neutral paint choices in this post, and I’ll definitely post all about which ones we ended up choosing when I share the room reveals. There are so many windows and doors in this house, so the trim work is taking a LONG TIME. The process for every trim surface is scrape, sand, clean, prime, and paint two coats. Add up all of the trim in the house and we may be done by 2016. MAYBE. 

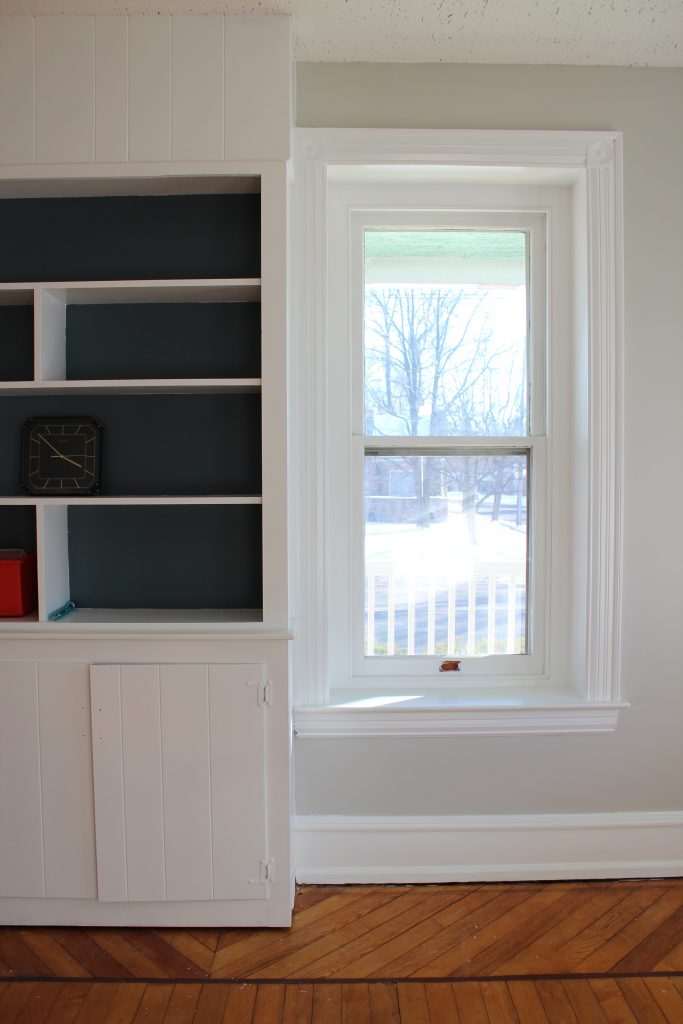
But there’s just nothing that compares to putting fresh white paint on an old surface. It looks so fresh and clean!

Isaac has been a huge help – ha! It’s so fun to see how quickly kids this age pick up on what the adults around them are doing – he dips the (empty) paintbrush in the (dry) paint tray and says “dip” and then “paints” the walls. SO cute!

While two of the rooms are finally painted, they’re directly next to the kitchen, which looks pretty terrible after all of the demolition the boys did this month. Under all of the laminate on the walls was this lovely black adhesive that’s just pretty horrific to look at:

Let’s take a closer look, shall we?

And even closer:

Oh. My. Goodness. It’s really terrible. BUT – BUT! We got to start putting drywall up a few days ago – and it’s amazing how it makes such an instant difference! It’s only going to get better from here!

See that door leading to the powder room? Well, it leads to this now:

This month, we had the bathroom pipe freeze twice. The first time wasn’t a big deal, and we were able to thaw it out without it bursting. The second time? We weren’t as fortunate. My husband walked into the house and heard rushing water – and then found that the basement had about 4 inches of water covering the floor. In the end, we ended up being able to fix the pipe (thankfully it was exposed, and wasn’t inside a wall) and got all of the water out of the basement. This led to tearing up the floor in the bathroom, which led to tearing out the walls. Which left us with studs and some plumbing hookups.
It ended up being a blessing in disguise – we found out that this addition was built super poorly, and there was a big hole that exposed the pipes to the outside air (which is why they froze). We also found out that the floor was rotted, and we probably would have had to rip them out anyways. Thankfully we didn’t put nice flooring down over a rotten floor!
We got a contractor out to price the job to refinish the bathroom, and were so excited to hear that he could do it for a super reasonable price. Thank God!
Speaking of pricing…we had a flooring man come out and price out our flooring job. Remember last post when I talked about how we were SO excited that the floors were in such great condition?
We figured we could have someone come out and buff them, and maybe put a coat of polyurethane on them. We had a man come out and he said the floors were coated in wax, which meant that if we would put polyurethane on top of it, then it would come up in a few months. BOO! I kept hearing dollar signs when this man was telling us that we needed to sand down all of the floors, then put 3 coats of polyurethane on top. I thought for sure it was going to be out of our budget!

Let me just tell you – the man who came out to price our floors was SO impressed by them. He couldn’t stop gushing over how incredible they are. He figured out that they were actually original to the house, which meant they were made in 1902, which means they were done completely by hand and without any electric tools. Looking at the floors through this lens makes me love them even more! He pointed out that they’re composed of three different kinds of wood (chestnut, walnut, and maple). He couldn’t get over how well made they were and how well they had held up over 110+ years.
In the end, he ended up giving us a great price on the flooring job – only a couple hundred dollars more than what we originally budgeted. He’s scheduled to work on them next week – I can’t WAIT to see how they’re going to look when he’s finished!

I’ve got some questions about how we’re doing all of this with a busy toddler in tow…so I figured I’d show you. First of all – it’s not easy. I’d love to say that he occupies himself well and doesn’t get into anything, but that’s just not the case.

We have a kitchen set up, and that lasts for a few minutes at a time. We read lots of books, but again, that doesn’t last forever.
We go in groups and always have one person on “Isaac duty”…and that’s basically all that they do!

I have to say, I kind of love that he’s getting exposure to this early in life. I plan on doing work projects with him and his siblings as they get older, and I think it’s a great example of hard work. He would rather play with a mini crowbar and a sanding block than all of the toys we have for him. All of this could either instill a love of DIY projects in him, or make him hate it when he’s older

I love that he will have “worked” on this house with us at such a young age, and then he will be living in it for so many more years to come! He’s already grown up so much in the few months we’ve owned the house!

This next month is SUPER exciting – we’ll have lots of prettier pictures to show!! We’ll be doing lots of kitchen work (see all of my kitchen plans here), getting the cabinets installed, fixing up the bathroom, and getting the flooring done. We’re in the final stretch before we move, and we’re going to have to work HARD this next month to get everything in place!
Pin ItThe post House Update: Month 3 {painting, kitchen demolition, burst pipe & working with a toddler around} appeared first on Christinas Adventures.